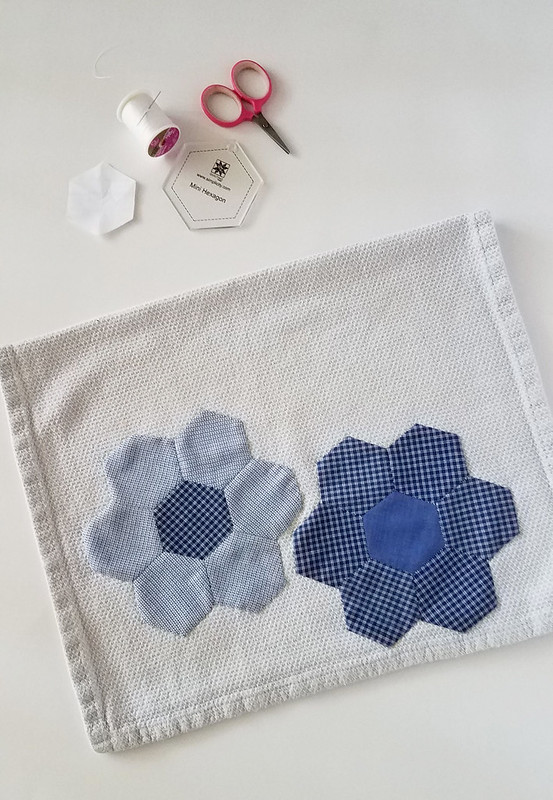
When I left you last week, I had hand-sewn my hexagon flowers together, and was ready to attach them to a tea towel -
Honestly, I'd been itching to hand sew appliques for awhile now.
I've always been terrified of needle-turn applique, so what reassured me about English paper piecing is that your corners are already neatly tucked under.
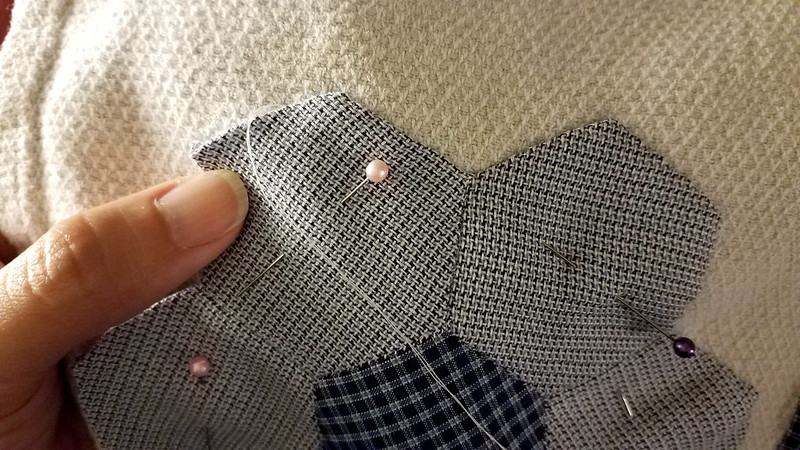
I took out my extra-fine thread and thinnest needle, and got started. You can just barely see my teeny stitches here:
That's the magic of this applique method - if you choose a thread color close to your fabric, use tiny stitches, just under the edge, they will be virtually invisible on both sides!
Again, I recommend Liza Lucy's explanation of this method in this Creativebug class - I don't know about you, but I have to see someone doing something before it really clicks. Her explanation was thorough and helped me understand where to put my needle. All the photos and illustrations in the world don't help me as much as a clear video can!
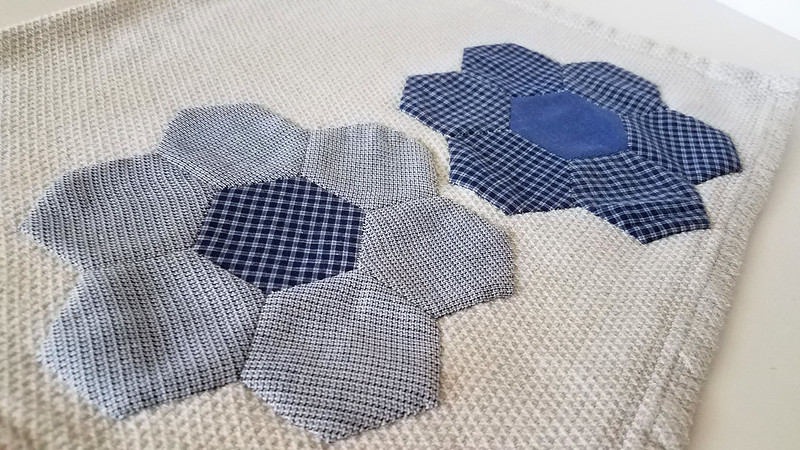
And here is my finished applique towel!
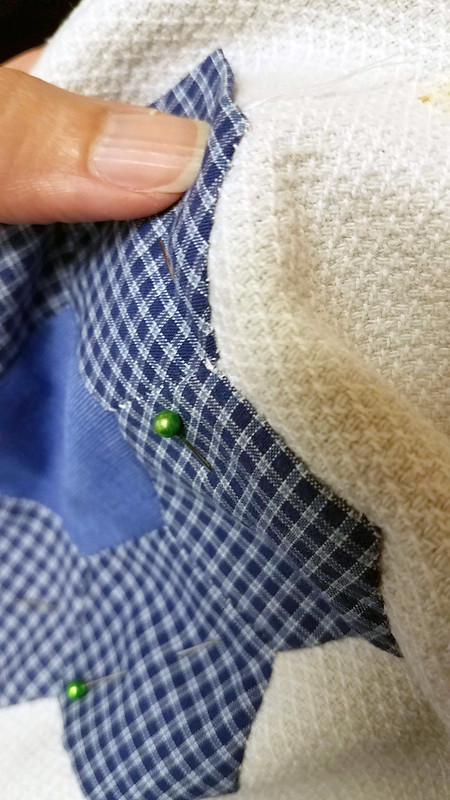
Left unsecured in the center, the fabric tends to kind of flow and look a bit rumpled:
In a close-up photo like this, you might think it's more noticeable than it actually is. In real life, I barely notice it at all - so I think it all boils down to personal preference. Hand-sewing each edge down is a time-consuming, slow craft, but I enjoy the soft vintage look and feel of it!
Another way to applique
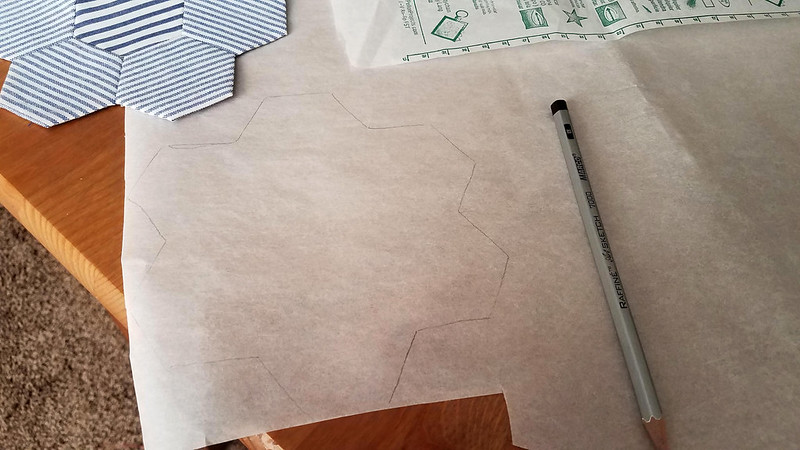
I had just bought some Pellon paper-backed interfacing, and I was curious to try attaching my appliques this way...I traced my hexagon on the paper side...
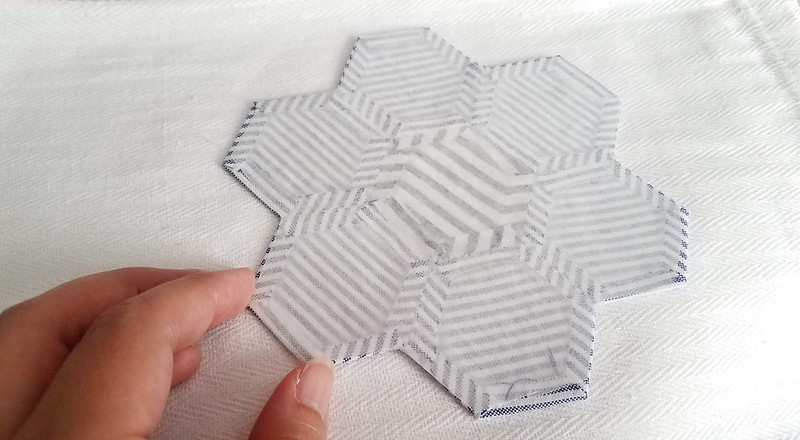
Gave the applique a quick press, removed the papers, and pressed it again to keep the edges extra neat...
Cut out the Pellon...
Ironed it down, peeled off the paper backing...
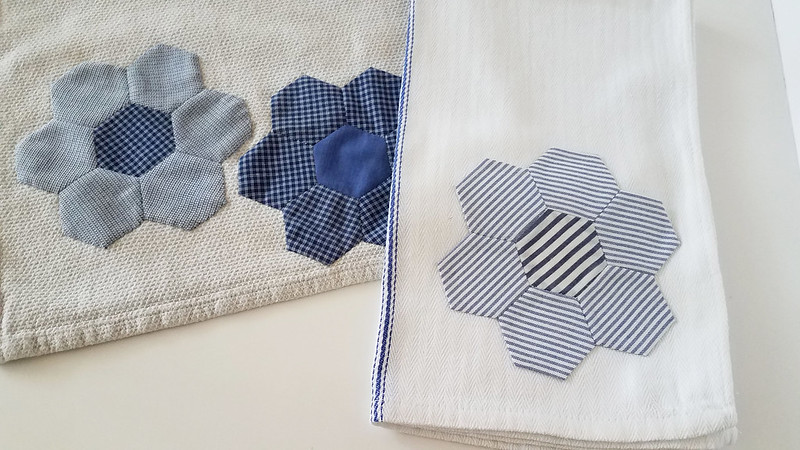
Then I ironed the applique onto the towel, and voila! My new tea towel!
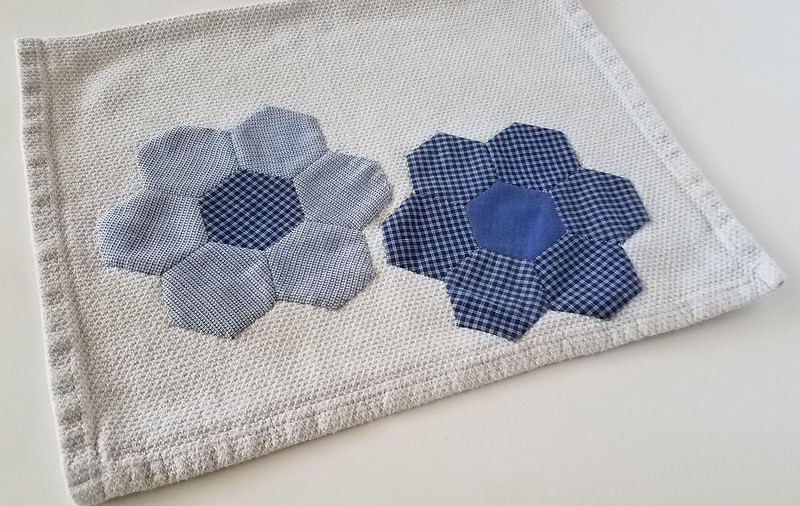
I like how crisp the edges look and how nice and flat the entire applique is. This is definitely a more photogenic piece...
On the left, hand-sewn applique secured only on the edges; on the right, applique secured with paper-backed fusible interfacing.
More Hexagon Projects
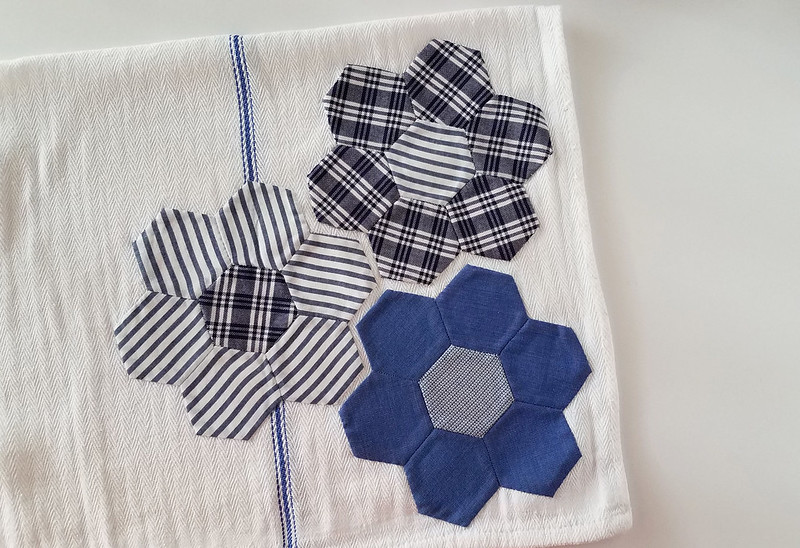
When I realized how FAST and easy attaching my appliques with Pellon was, I went a bit nuts with it. :)
I spent a whole afternoon appliquing anything that would sit still long enough! Ok, maybe I didn't go THAT crazy. But I did end up with matching placemats and another tea towel, seen above. I loved adding more than one big hexagon flower, and the bold graphic look it has.
It was in this full-tilt applique madness that I discovered that some fabrics did not take to the applique as well - my tea towels have a weave to them, so that might be part of the problem, but the edges did begin to lift and separate.
So all in all, I think the best option for items you will throw in the wash frequently is to secure with paper-backed interfacing AND hand-stitched edges. If you aren't going to wash your items, just paper-backed interfacing is probably fine.
Which Applique Method is Better?
I think both methods have their pros and cons and it all boils down to personal taste.Hand-sewn Applique
Pros:
Stitching is virtually invisible
Finished applique is soft and moves more like fabric
Cons:
Time consuming (could be a pro if you like slow-stitching)
Fabric rumples a bit (could be a pro if you like this more vintage look)
Paper-backed Interfacing Applique
Pros:
Very fast!
Finished applique lays very flat and sharp corners are preserved.
Cons:
Fabric has a stiffer feel and look
Edges must be very neat before ironing as they will show through if they are bulky
Certain fabrics don't take perfectly, and parts of your applique may start to lift








No comments:
Post a Comment