Here's something I thought I'd never try - hand-sewing and paper piecing- but after following along with the English Paper Piecing class with Liza Lucy on Creativebug, I finally felt confident enough to give it a try!
About Creativebug
This is not a sponsored post - I've had a monthly subscription to Creativebug since January - and I highly recommend it if you are looking to jumpstart your creativity. Cheaper than Netflix, Amazon Prime, or Hulu, cheaper still than individual crafting books and kits, and time very well spent, in my opinion.If you have any doubts about a monthly subscription to Creativebug, do look around first and be sure that there are classes that pique your curiosity - Creativebug is light on hand embroidery, but I am enjoying supplementing my creative skills in general, as with this English Paper Piecing class.
My final project will include not just paper piecing and hand-sewing, but also of course, some embroidery!
My Materials
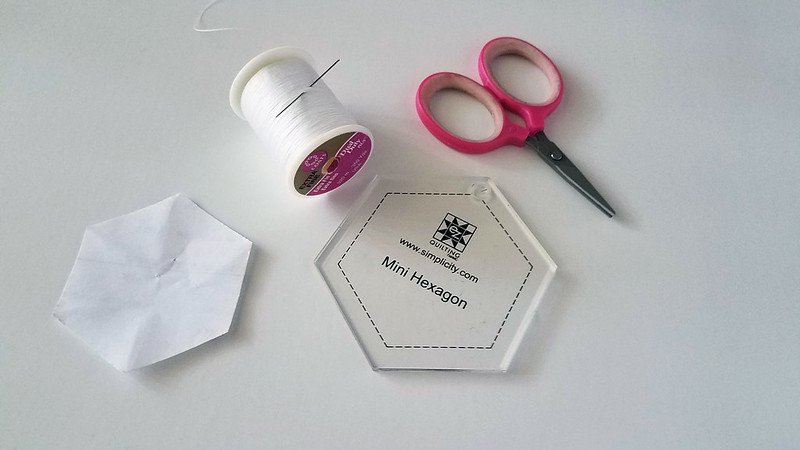
My materials for this project (a few pictured above):
scrap paper (for piecing)
hexagon template
needle
thread
scissors
rotary cutter
self-healing cutting mat
thrifted men's shirts
This spread in a book called Patchcraft by Elsie Svennas was what first inspired me:
I got the general idea, but wasn't sure about the little details...
Enter the English Paper Piecing class with Liza Lucy on Creativebug - her class is so clear, so detailed, so easy to understand. I am sure you can find many online tutorials and resources out there, but I think what sets this class apart is the quality of the content and Liza Lucy's eye for color and detail.
What is Paper Piecing?
Some of you may be wondering (as I always was) what the heck is paper piecing? Just hearing the word gave me jitters, and I'd skip over anything that required this skill because I was so intimidated by quilting in general.But it's really so easy!
Paper piecing just means using pieces of paper cut to a specific shape to serve as a template to wrap your fabric around and keep it in place while sewing it together. It helps keep your edges sharp and neat and keep your fabric from going all wonky. You tack your fabric around the paper piece using either temporary glue or basting stitches. The last step is removing the papers and basting stitches, just before your item is finished.
My project
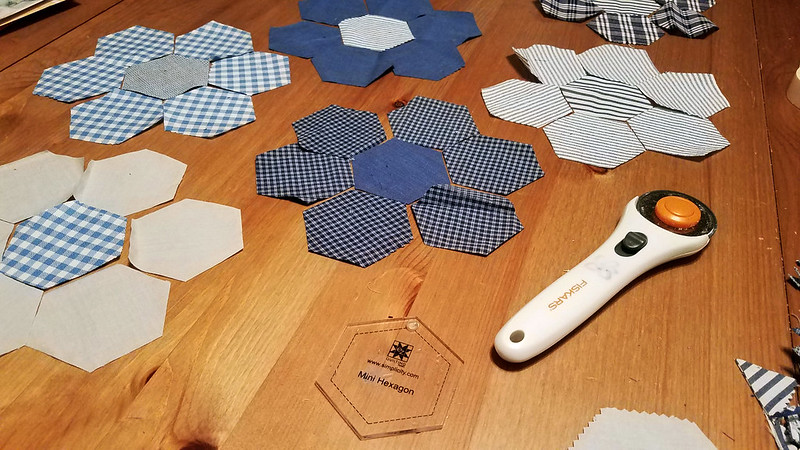
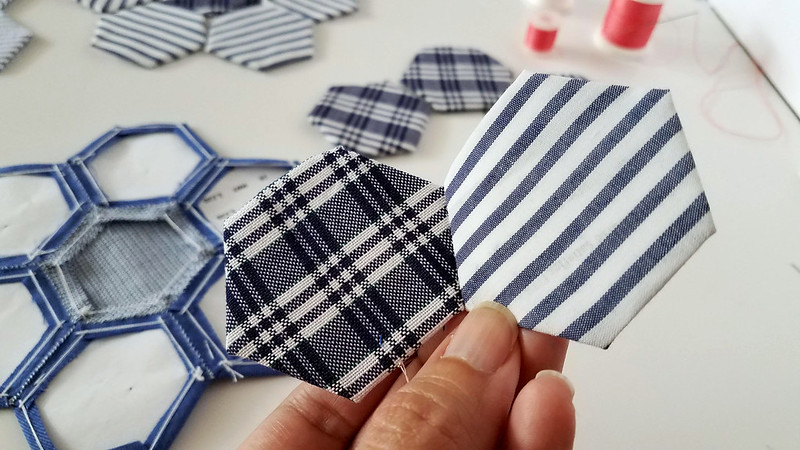
I started by cutting into my 7 thrifted men's shirts - cutting the hexagons with my template and rotary cutter was time-consuming but fun, and I had a good time moving all the pieces around like a little puzzle.
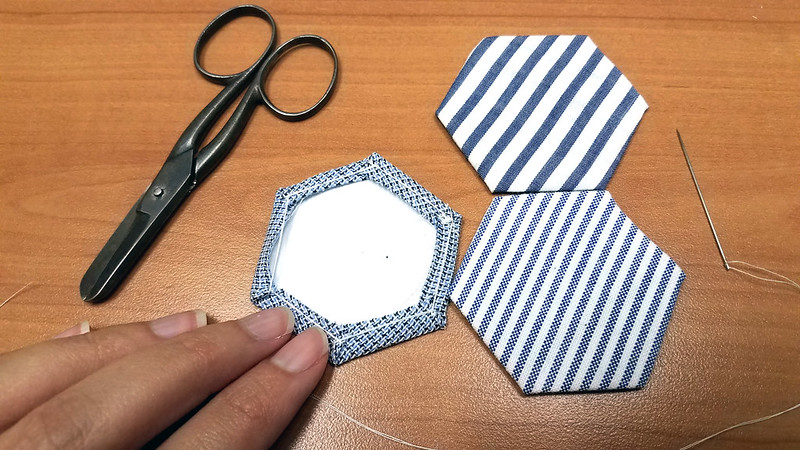
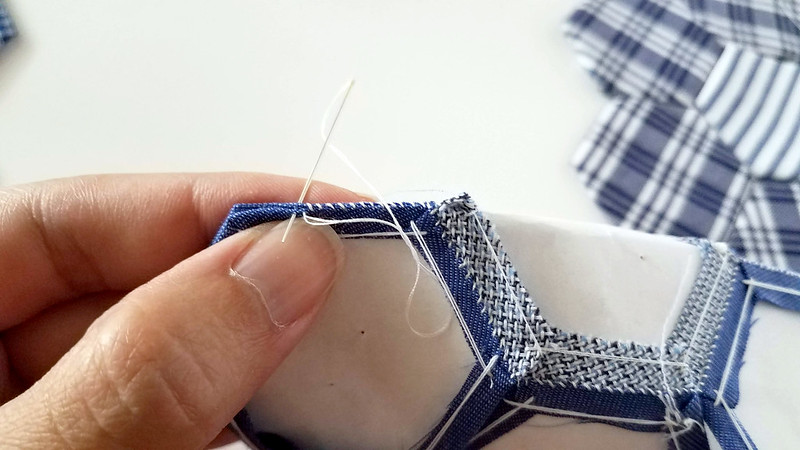
Then, using scrap paper cut to the size of my template I folded the fabric over the edges of my paper and hand-basted them using long, quick stitches...
DON'T do what I did here and DO use a heavy thread in a contrasting color - use the cheapo stuff in the wacky colors you never use, since it's all going to come off, anyway. I only had white with me, so I used white, which is a bit hard to see.
I was three hexagons in, and totally itching to do more! I loved the look of all the contrasting stripes and checks together.
By the next morning:
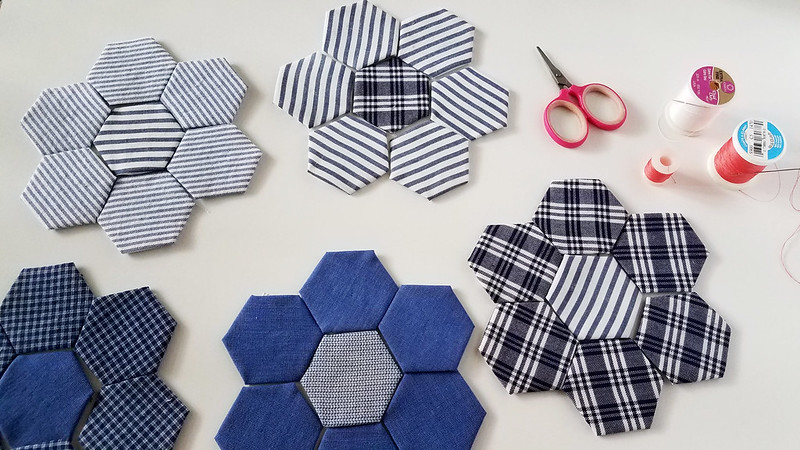
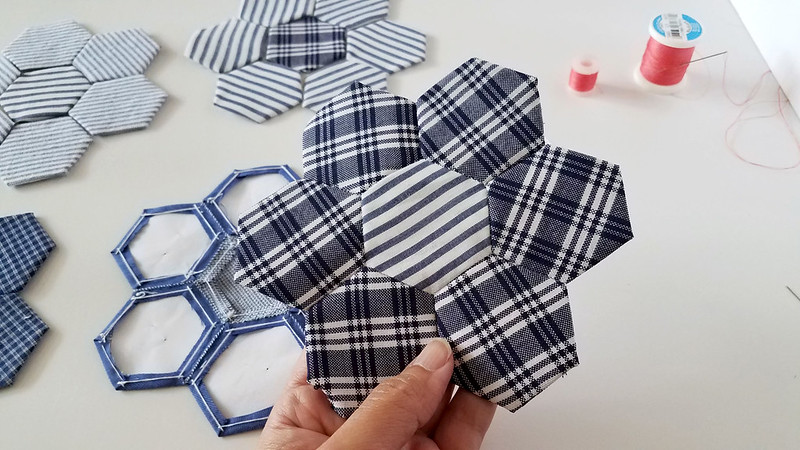
I was 35 hexagons in and I was utterly hooked! I'd spent the whole night basting these little hexagons, and only stopped when I was too exhausted to lift my needle. I had so much fun moving the shapes around and experimenting with the flower shape.
Once your hexagons are basted, the next step is to sew them together!
The paper provides a firm foundation, keeping your shapes crisp and neat as you sew. Don't take them out until you are absolutely finished!
Here's the thread I'm using, if you're curious - it is extra fine. I used the thinnest needle I had, from a lovely vintage stash I bought recently.
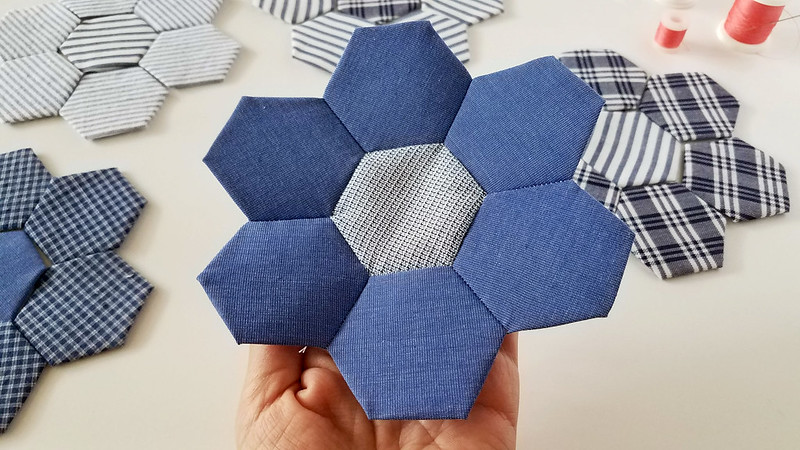
And here is a completed flower!
And another!
A word on imperfection
On Instagram, some people commented on the neatness of my stitching - but don't let these pictures fool you - they are far from perfect. I really like that Liza Lucy talks about this in her class and gives you a bit of confidence that even when your shapes don't match up exactly, it's not the end of the world, and you can probably get them to line up just fine when you sew them together.My scrap paper hexagons were not exact and my edges were wonky, but I still got some nice flowers out of them, so beginners don't freak out if your edges don't completely match. My more advanced stitchers know that the crucial thing to getting pieces to match up are templates of the exact same size - there are store bought pieces if this is very important to you.
What I love about these hexagon shapes is that the possibilities are endless - I'm just using fabric scraps - but imagine what you can do, in your favorite colors and textures! I love the idea of re-purposing something old and making it new again, which is why I'm using scraps, but how many of you have a huge fabric stash waiting to be used? This is the technique to try if you've always wanted to try patchwork or applique!
Stitch along with me!
Again, I am stitching along with the English Paper Piecing class with Liza Lucy on Creativebug, this class is well worth your time if you'd like to learn this method. Next week I'll show you what I did with my hexagons!Have any of you tried English paper piecing? What are your likes and dislikes? Do you have any suggestions or questions? Leave a comment for us!








No comments:
Post a Comment