How do you like that little peek of my Final Project for the Color Theory class with Karen Barbé? You'll see the rest of my project at the end of this post!
It's no secret now which color combination I chose, after a lot of internal (and external) debate on my last post...
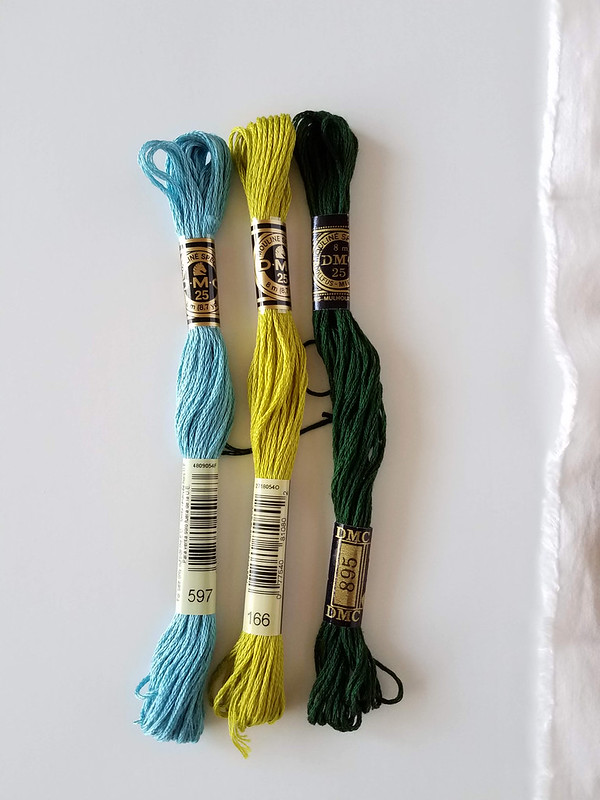
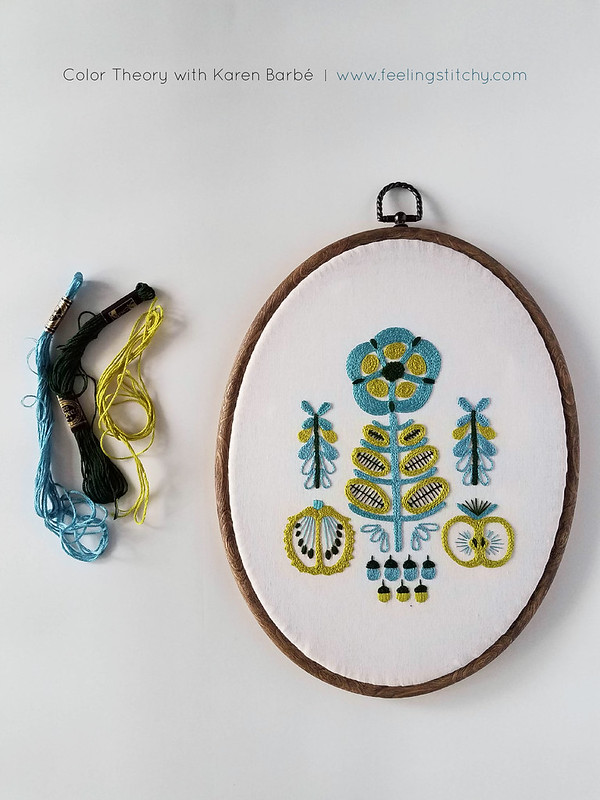
I chose the Analogous color scheme, with a nice blue-green, bright yellow-green, and dark forest green:
DMC 597, 166, and 895 - you may notice one of these is a vintage floss that is likely well over 25+ years old. I love to use my vintage flosses if they are in good shape, as this one was.
I transferred my design with my trusty Aunt Martha's transfer pencil - I have been using the same pencil since I wrote my original How to Use a Transfer Pencil post, oh about 13 years ago! I think it's funny how I used to love vintage transfers and embroidery, and now my own embroidery is old enough to qualify. Way to feel old. Wait, not old... vintage. :)
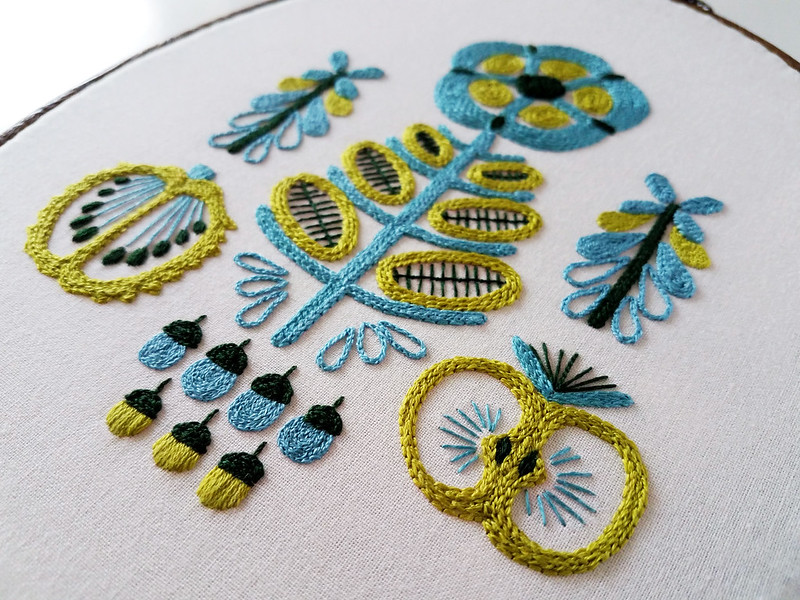
Hope you love chain stitch, because I used lots and lots and lots of chain stitch! I decided to do my entire project in only those 3 colors of floss - so I diverged from the whole point of Karen's class - as she does encourage you to create a whole palette of colors. But I was so fascinated with the 3 colors, I wanted to try it and see what I thought of the finished piece...
Washing and Ironing My Project
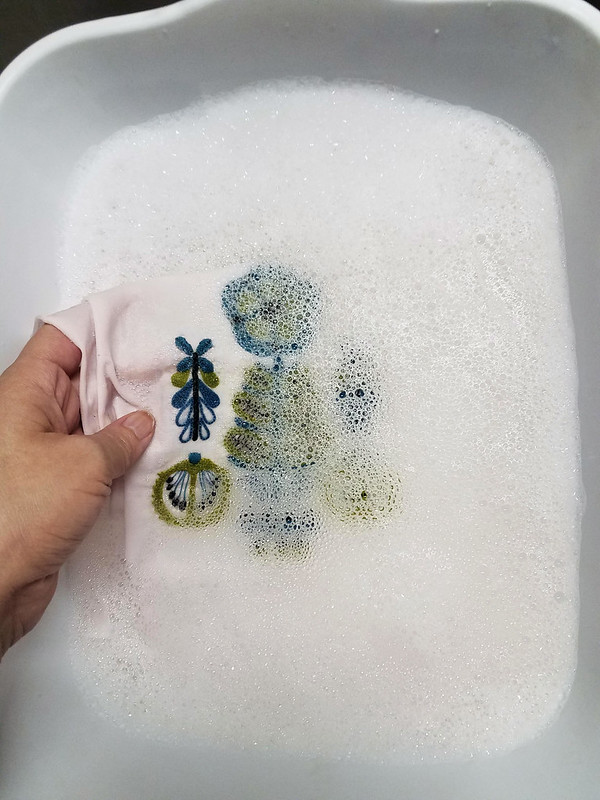
Since the pink lines from the transfer pencil were showing through, I decided to give my project a wash when I was finished:I soaked it in regular dish soap and cold water, and all the transfer pencil lines came out.
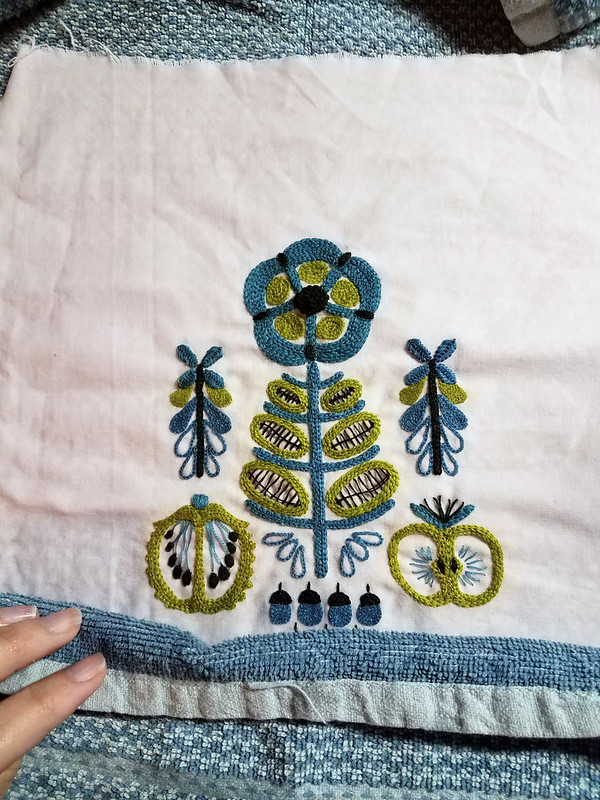
Then I put it on a towel to soak up the excess water:
Last, I turned it face down on the towel and ironed the back while it was still wet, to get it nice and smooth, without smooshing the textured stitches...
If you have a sharp eye, you'll see that any long, unsecured stitches got all wobbly and funky. I had to pick some of those out and re-stitch them, lesson learned:
My Finished Project
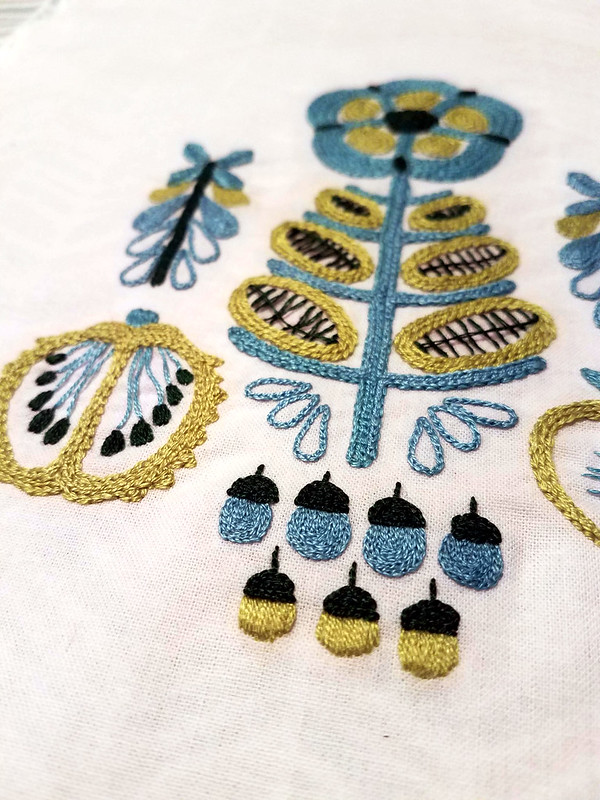
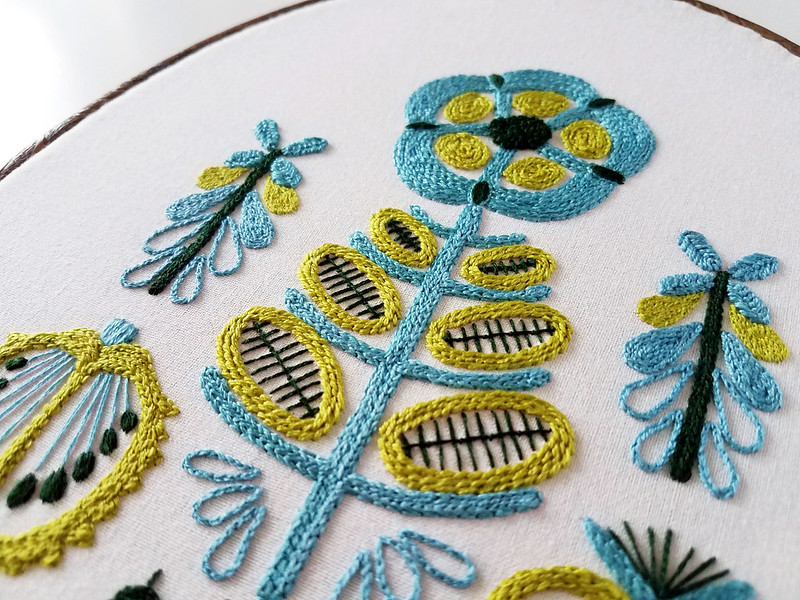
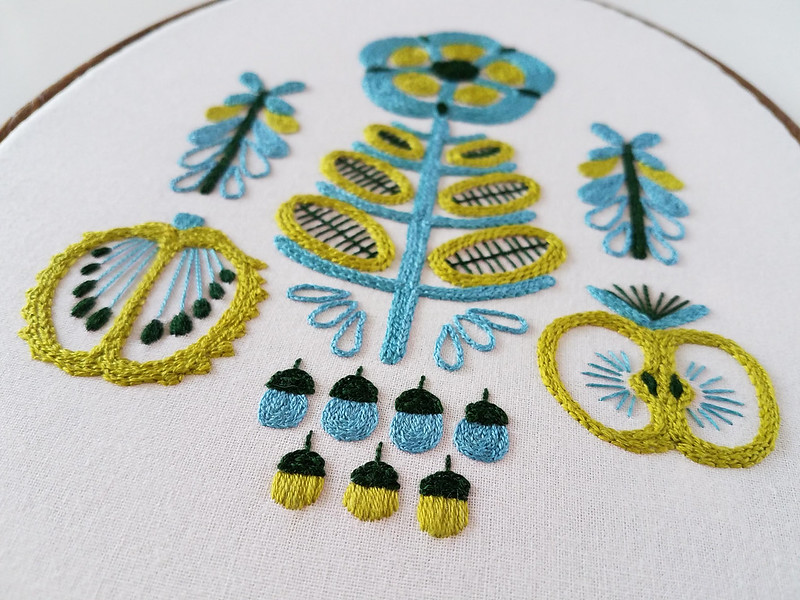
And here's my final project, all finished!It was a fun experiment in simplicity, but I did get a bit tired of just 3 colors. I think an ideal number of colors for a larger piece like this is 5-6.
To make each area look unique, I used as many different types of textural stitches as possible!
Most of the piece was chain stitch, outlined in back stitch, using 2 strands of floss, but I also used stem stitch, split stitch, satin stitch, and my messy version of a Cretan stitch (see Mary Corbet's beautiful version on Needle n' Thread - Cretan Stitch). I had a lot of fun playing with texture in this piece, I think it made up a bit for the lack of variety in my color choices.
I really love how those little blue acorns look - I used split stitch with 2 strands of floss - time-consuming, but I think it's a lovely effect.
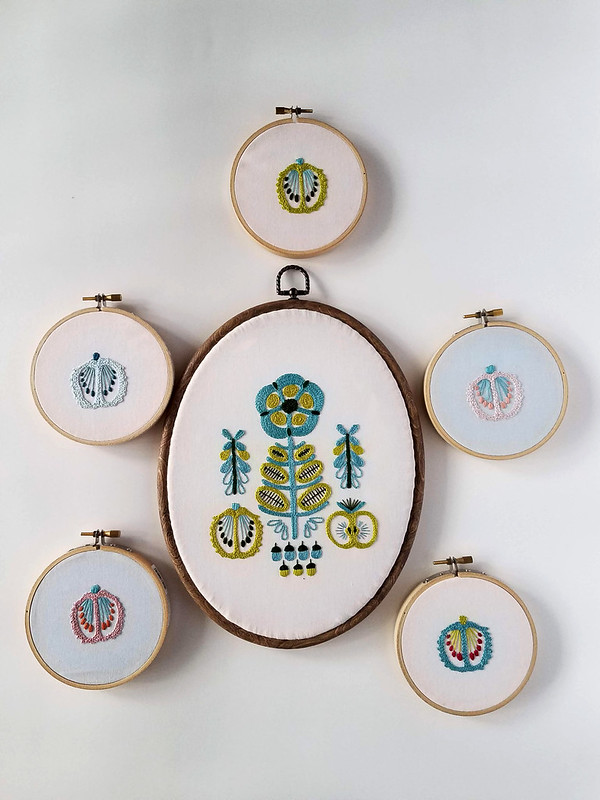
Here are all the other mini pieces I stitched, looking at them all together, I do think the best choice was the one I picked, or the one with red.
And here is my finished piece! What a fun project, truth be told, the main reason I took this class, was to be able to stitch that pattern!
Final thoughts
I learned SO MUCH from this class about color, and I spent countless happy hours thinking about colors, playing with colors, and it was just an absolute joy for me. So, do I recommend Karen's Color Theory class - absolutely! As I mentioned before the class is all in Spanish, but if you don't speak Spanish all of the concepts are covered in her book, Colour Confident Stitching.Thank you for following along with me in this class - and stay tuned for later this week, when I reveal this month's new project!
Previous Posts
#2 Color theory with Karen Barbé#1 Color theory with Karen Barbé






No comments:
Post a Comment