Here is my
Drummer Drumming, #9 in the series of patterns by Mmmcrafts, and I am quite happy with him! Working this pattern was a joy- now that I have embraced the complexities of the "people" patterns in this series, I am very pleased. My best tip on the latter half of the series is to follow directions carefully - even if you are 3d challenged, like myself, if you follow the directions, it will still come out nicely!
This was also the first ornament in which I used the free Etoile threads sent to me by DMC threads (thank you, DMC!)
I had a lot of fun experimenting with these threads, so I'm doing a mini-review of my experience stitching with them in this post. I used 1 dark pink shade of Etoile, as you see pictured above - color C915, and I used that to stitch together the body and drum.
Let me take you in closer to this thread, so you can get a true picture of its fluffiness:
See that texture? Wondering if it will lay flat? Well, it depends.
I found Etoile floss lays best when used sparingly- I used 2 strands for my stitching on the edges, and I had no issues with it laying flat. It's easy to separate, didn't fray, and stitched very smoothly, unlike other DMC metallic threads, which can be very stiff and unpleasant to work with.
Now have a look at this example -
I used all 6 strands on the yellow sash and it was much harder to keep the threads laying flat. It requires a lot of tugging. I've heard thread conditioner can help, but I didn't use that in my example. The sparkle on Etoile floss is subtle, but nice.
My take so far on stitching with Etoile on felt is that it is lovely to work with, and works best in moderation.
You may remember from my last post, Maid a milking, that I wondered if I'd used the wrong size bead for her head, and indeed, I did!
Classic case of me just using what I had, rather than buying more - my beads are 25.4 mm, as opposed to 20 mm. They still worked fine- I just had to make my hat a little larger for it to fit.
Here are some head outtake / rejects that didn't pass my stringent quality check:
Went a little too crazy with the gel pen.
Got too lazy and cut straight to the chase with the permanent marker, and the edges bled... A friend on Instagram had a nice tip to prevent bleeding - paint your head with acrylic paint first to provide a nice base.
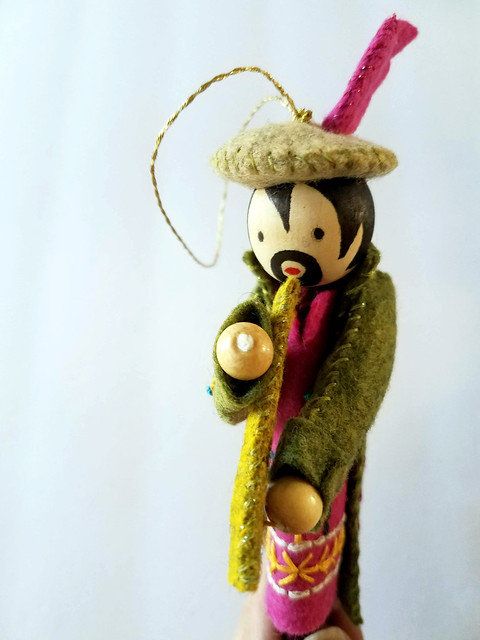
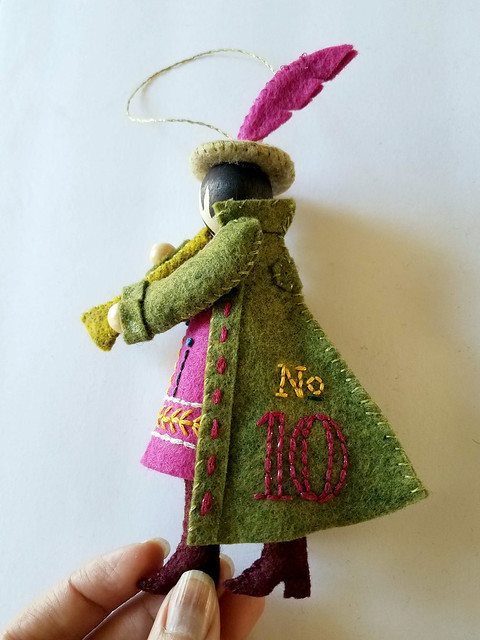
Here is my finished drummer, in all his big-headed glory!
Got lazy and didn't do anything fancy with the drumsticks - just poked the pipe cleaners in, thought they looked cute, and left as is. I'm really enjoying these people ornaments, and I'm glad I had nothing to be afraid of. Once again I am grateful for Larissa'a excellent directions - follow those, and you'll stitch something just as lovely!
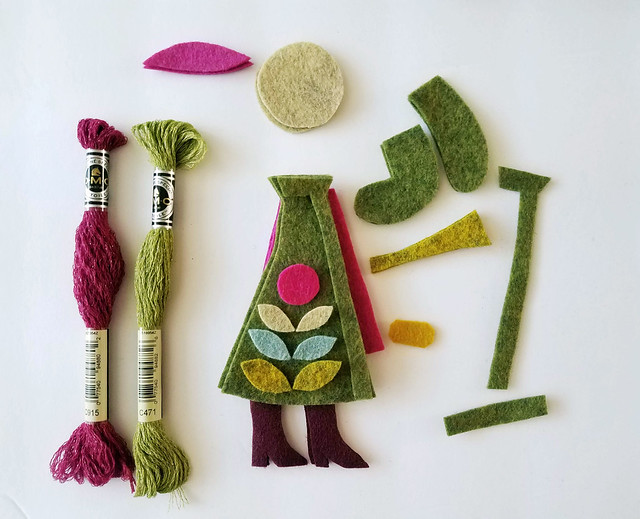
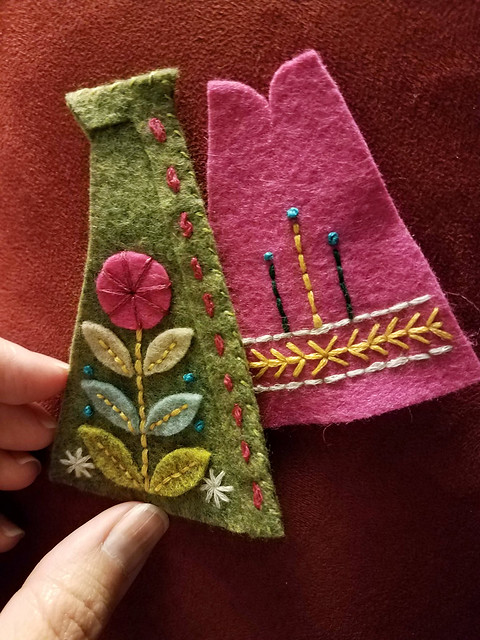
Next up is
Piper Piping, and I've got my pieces cut and ready! Please join us - let's stitch!
JOIN THE 12 MONTHS OF CHRISTMAS STITCHALONG!
This stitchalong is easy, and no-pressure! To join, visit Larissa's shop to purchase the
Twelve Days pattern of your choice. Tag your pictures with the hashtag #twelvedaysornaments and #12monthsofChristmas on Instagram so we can find them.
Leave a comment here with a link to your blog, or any space on the internet or Instagram where you are tracking your progress. And don't miss the page Larissa has set up with lots of tips for stitching this series:
http://mmmcrafts.blogspot.com/p/twelve-days.html.
Previous Stitchalong Posts


