June 29, 2014
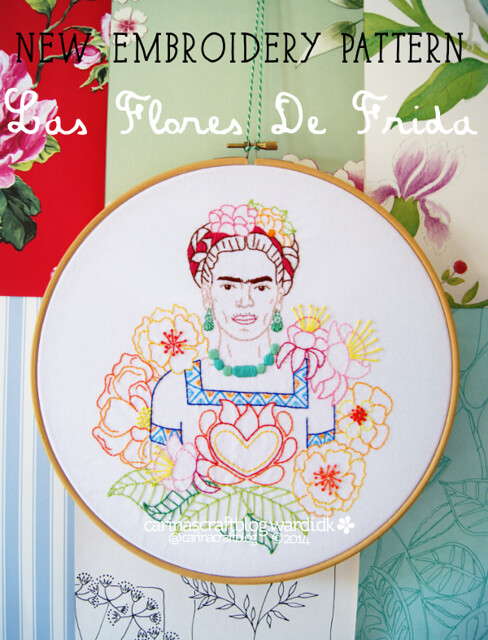
Patterns: Las Flores de Frida
Hi, I'm Jo - I feature new embroidery patterns Sundays on Feeling Stitchy. I also post on our Twitter and Pinterest.
Is there a new pattern you'd like us feature? Email me!
June 28, 2014
Review: Stitch it with Wool Craftsy Class
When I was contacted by author Kristin Nicholas to review her upcoming Craftsy class, Stitch it with Wool: Crewel Embroidery, I was excited about my first experience with Crewel embroidery. I really enjoyed this experience and recommend this class for crewel beginners - Kristin is a great teacher with a Matisse-like colorful style and her thorough lessons give you all the tools you need to get started! I'll walk you through the class, the materials I used, and the small project I stitched for this review.
The class includes an 8 page PDF with a list of supplies and 2 large designs for the pillows above, with a clear breakdown of color, and which stitch goes where.
Here's a brief overview of the class, which is divided into 7 lessons: Lesson 1 goes into all the particulars of threads, needles, hoops, fabric, and transferring your design. You'll also learn great tips if you have never embroidered, like how to start and end your thread! Lesson 2 covers basic stitches - if you have embroidered for any length of time, you probably already know these - but I would still give them a watch because Kristin gives some great tips and examples. Lessons 3 and 4 are where the good stuff starts for an intermediate stitcher - introducing stitches that build on the basics. Lesson 5 and 6 introduced me to lots of unfamiliar stitches that were not yet in my repertoire - and stitches that lend themselves particularly well to crewel threads. Finally, in Lesson 7, Kristin tells you all about untangling and managing wool skeins, finishing techniques, and a really interesting topic - knowing when to stop. :)
Kristin is a fabulous and thorough teacher - she explains every stitch carefully, taking the time to explain mistakes that you may make, and how to avoid and correct them. Kristin is calming and personable, and I really like that her emphasis is more on creativity and not on perfection, which makes this class a great springboard to create your own projects. I also like that she shows you finished examples of every stitch, so that you can better visualize how each stitch can contribute to an overall design. Her own work features imaginative lines, textures and vivid combinations of color with a lively, painterly style.
You may be asking, do I really need to buy a bunch of crewel wool?
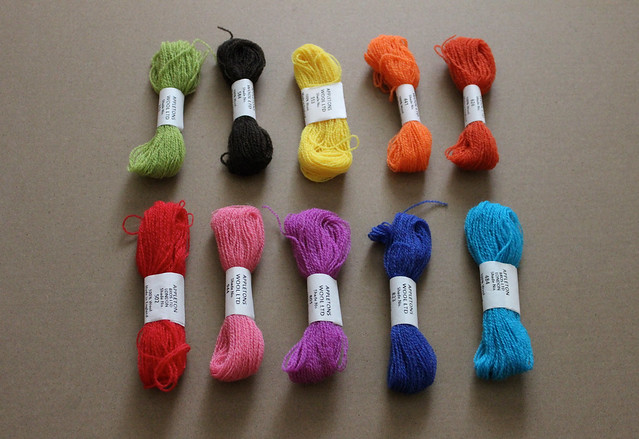
I was going to experiment with my regular embroidery floss or finer weight yarns until I saw Kristin's online store, and was hooked by her beautiful crewel wool. I bought the Some of Each set (above). Kristin was also sweet enough to add a large square of linen, in the color of my choice - I chose a neutral gray, to make the bright colors of the wool pop.
After taking the Appletons crewel wool for a test drive, I cannot say enough, yes, if you have never stitched with crewel wool, you should certainly try it.
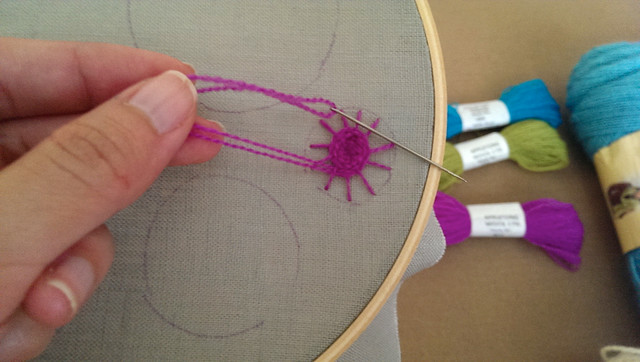
Stitching with wool is SO distinct from stitching with embroidery cotton floss - the wool fiber is very thin, spongy, and springy. It has a marvelous matte texture that piles up nicely as you stitch. If you take this class, I definitely recommend purchasing a few crewel wool skeins. Another important note is that if you stitch with wool, you should definitely use linen fabric (something I learned the hard way, a few months ago). :)
Here is my small project:
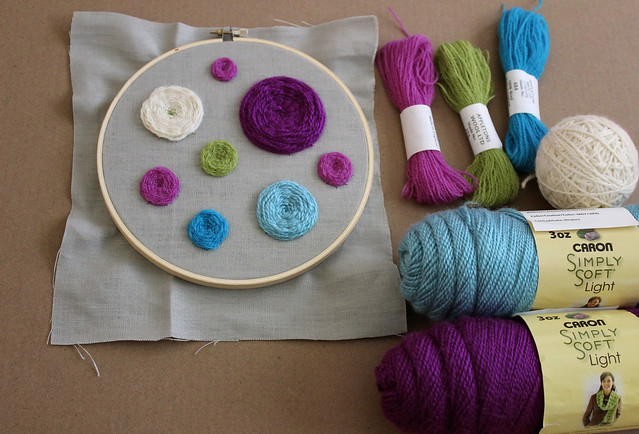
I decided to practice the Spiderweb stitch for this review, tracing random circles to create this design. I used 3 bright colors of Appleton crewel wool, along with 2 light yarns and one thicker white wool yarn from my stash. I have to say, the Spiderweb stitch is addictive and meditative, and I can't wait to try even more stitches from this class.
So, to sum up, Stitch it with Wool: Crewel Embroidery is a great class for beginners to learn crewel embroidery, and it's also perfect for a complete beginner who has never embroidered before. There is plenty of detail, instruction, and inspiration to get you started - whether or not you chose to stitch the pillow designs as they are, or create your own designs. Thank you Kristin, for allowing me to review your class and share it with our readers!
And, thanks to Kristin, for a limited time, we have one more thing to share with our Feeling Stitchy readers - a 50% discount on the Stitch it With Wool class:
Have any of you experimented with crewel embroidery or stitched with crewel wool? Let me know what you thought of it in the comments!
Hi, I'm floresita, editor of Feeling Stitchy. I'm an avid stitcher, knitter, and crafter. You can see more of my stitching on Instagram and my blog. My vintage transfer collection is on Vintage Transfer Finds.
Feel free to email me with any ideas for the blog!
June 22, 2014
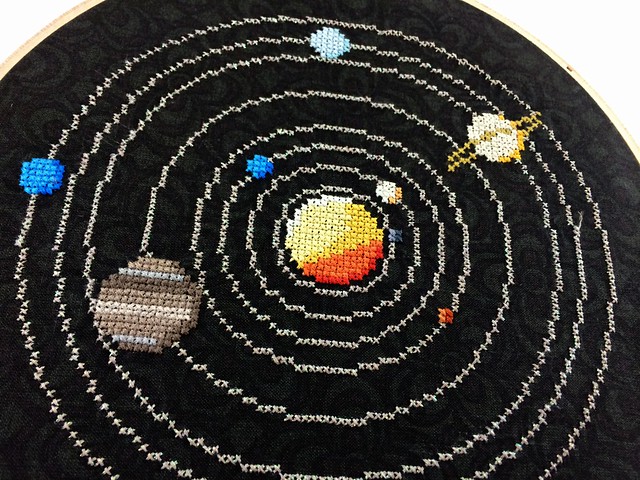
Patterns: Solar System
Hi, I'm Jo - I feature new embroidery patterns Sundays on Feeling Stitchy. I also post on our Twitter and Pinterest.
Is there a new pattern you'd like us feature? Email me!
June 17, 2014
Tutorial Tuesday
Today's tutorial comes to you out of somewhat of a necessity in my world. I sew and stitch quite a bit and realized that I needed a thread catcher for the floss tails, threads, and fabric pieces that I snip off of my projects as I am working on them. I know I am not the only one who needs a quick place to toss the excess threads and floss while I am sewing and stitching. I am hoping you can make use of this project in your workspace as you stitch up your WIP, as well!
To make this thread catcher basket out of fabric, you'll need:
- Fabric for exterior (11 inches tall by 14.5 inches wide)
- Fabric for lining (11 inches tall by 14.5 inches wide)
- medium weight interfacing (11 inches tall by 14.5 inches wide)
- sewing machine and supplies
- scissors
- embroidery hoop, floss, and needles
I used the spool image from the Sewing Collage pattern available at Urban Threads.
Hope you have a great Tuesday!
Hi, I'm Kristen! I am a lover of all things stitchy and crafty. I have been sewing for as long as I can remember. My grandmother taught me how to sew Barbie clothes when I was young and I have been sewing ever since.
You can find me at Bobbypin Bandit, on Instagram, and my Etsy shop.
June 15, 2014
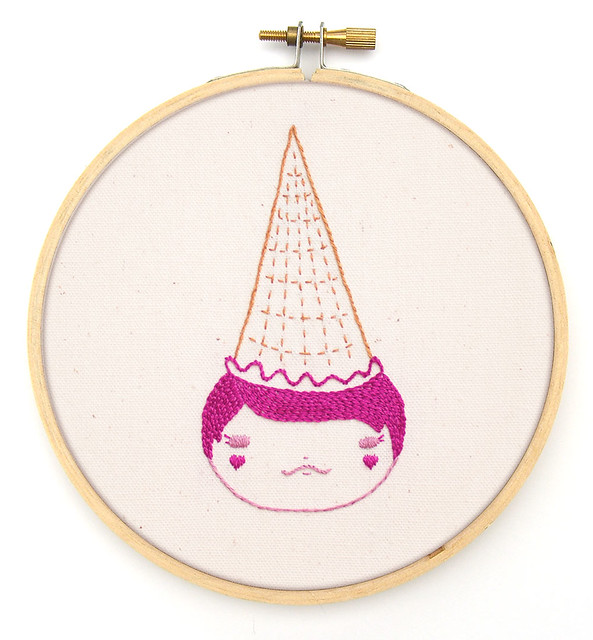
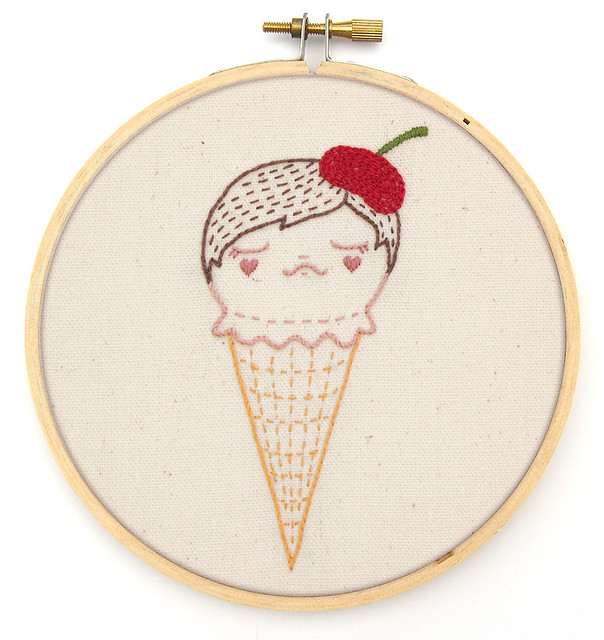
Patterns: Ice cream hats!
Hi, I'm Jo - I feature new embroidery patterns Sundays on Feeling Stitchy. I also post on our Twitter and Pinterest.
Is there a new pattern you'd like us feature? Email me!
June 3, 2014
Tutorial Tuesday
With summer on its way and so many great summertime tutorials floating around, I thought it would be good to share all these fresh and fun projects with you today!
Welcome the summer blooms with a "Bring on the Sunshine"embroidery pattern and tutorial for 3-D flowers from Crafts Unleashed.
Hi, I'm Kristen! I am a lover of all things stitchy and crafty. I have been sewing for as long as I can remember. My grandmother taught me how to sew Barbie clothes when I was young and I have been sewing ever since.
You can find me at Bobbypin Bandit, on Instagram, and my Etsy shop.

