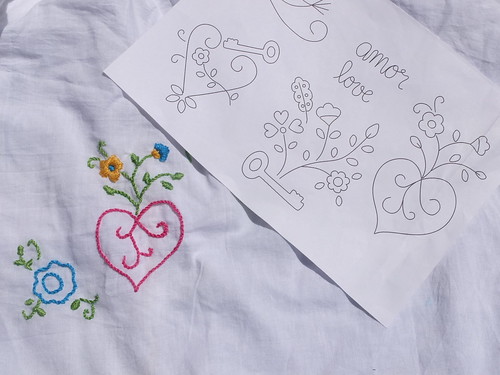
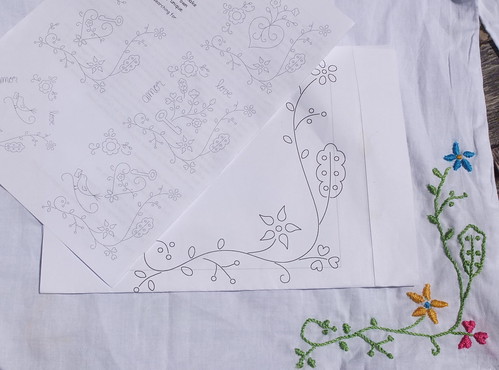
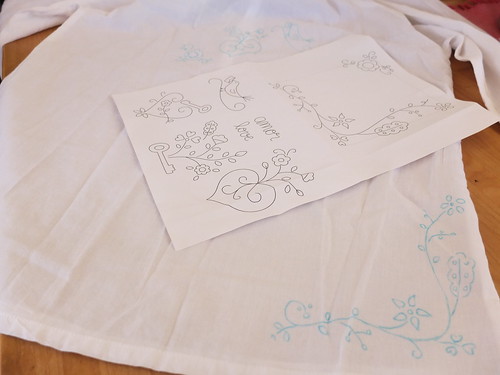
Happy Tuesday, everyone! It's back-to-school time for some us, and I thought an embroidered pencil case would be just the thing to kick the new school year off right. If it isn't back-to-school time for you, perhaps you might need a new pencil case for sketching or drawing. Either way, today's tutorial features a pattern from
Aneela Hoey's book, Little Stitches, that I think you'll enjoy.
To make this pencil case, you'll need:
- two pieces of exterior fabric in 6x10-inches
- two pieces of laminated cotton or oilcloth in 6x10-inches (I found it
here)
- one 9-inch zipper
- embroidery supplies
- pins
- sewing machine
- scissors
- iron and ironing board
Step Two: Place the zipper face down on the right side of the exterior piece, with the furthest zipper edge at the top of the exterior, as shown in the photo below. Place the laminated cotton right side down, over that and pin in place. Using a zipper foot on your sewing machine, stitch through the fabric and zipper tape.
Step Three: Unfold the fabric to expose the other side of the zipper tape, and place this face down on the right side of the other exterior fabric piece. The zipper pull will now be on the opposite side from the piece you just sewed. Place the second piece of laminated cotton right side down over this, pin in place, and sew using a zipper foot, as you did in step two.
When you unfold the fabric with the zipper at the center, it should look like this.
Step Four: Press the exterior fabric near the zipper to create a neat fold and crease. Do not press the laminated fabric, as it could melt. You want to make sure your fabric doesn't get caught in the zipper teeth. Top stitch on either side of the zipper about 1/4-inch away from the zipper to reinforce.
Step Five: Open your zipper to the halfway mark. This keeps the zipper handle out of the way while sewing, and allows you to turn the bag right-side out later. Open up the fabric so that the right sides of the exterior are face-to-face, same for the lining. Pin them in place, marking a 2-inch space in the lining that will remain unsewn. This will be used to turn the bag. Sew a 1/2-inch seam around the entire bag.
Step Six: Square off the corners of the bag by pressing the corner seams flat against one another to create a triangle. Mark 1-inch from the top point and sew a straight line across the bottom edge of this triangle. Clip the excess fabric and repeat for each corner of the lining and exterior.
Step Seven: Using the 2-inch opening in the lining, carefully pull the bag through so it is right side out. Top stitch this space shut, by hand or machine.
Step Eight: Add your pens and pencils to the bag, and you are ready for a new year of writing, sketching, and doodling.
Hope you enjoy and have a happy Tuesday!
