Olá! This week I'll bring you a project you can make with your children... Or students... When we try embroidering with kids the major difficulty is finding a simple and attractive project... On Father's day I held an event to which I gave the name "For dad, made with the heart". The idea was to gather children and make a special gift in 1 hour. Concluding an embroidery project within an hour is an ambitious aim and for some of the kids these were their first stitches... But this project was well-approved!
What will you need? Cardstock, yarn, a needle, suede cord (or any other tie that is easier for you), a pattern and something to perforate the cardstock. Try to be ingenious and use what you have on hand... I used the cards that are included in my
lacing card embroidery kits, a common pin and a cork pad - or you can opt for a foam pad... But I always prefer Portuguese stuff :). Never forget that everything that pricks can be very dangerous in children's hands, never leave children alone at this stage...
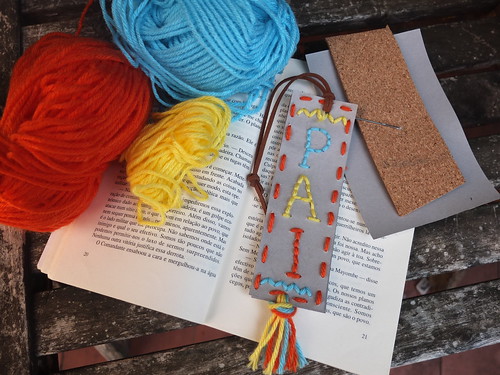 |
| Yarn, cork, needle and a card. |
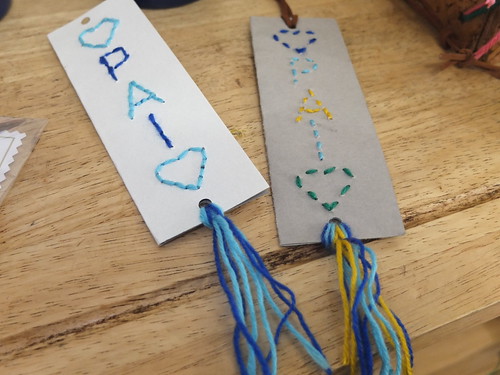
First you must fold the cardstock in half vertically. Choose if you'll want to decorate one side of the bookmark or both sides. I had prepared some patterns that they could choose, using the word "PAI", which means "DAD". I would have preferred to have them design their own pattern but they were too many and there was not enough time. But if you have time, have them draw directly on cardboard, instead of having a pattern on a common sheet of paper, as I did.
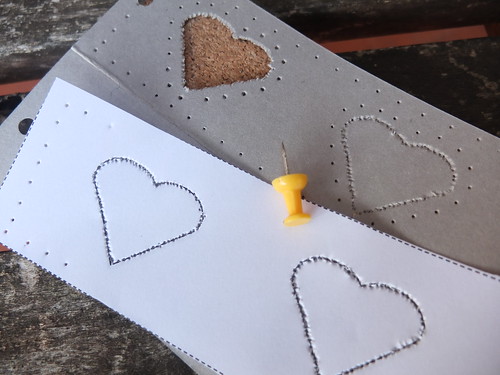 |
| Use a sheet of paper with a pattern and make the hole punching using the pin and the pad. |
Place the card on the cork pad and the pattern on the card and make small punctures through the pattern with the pin, following the lines of the drawing. Space the holes approximately one centimetre apart. Your bookmark is ready to be embroidered... Choose a simple stitch like running stitch or backstitch.
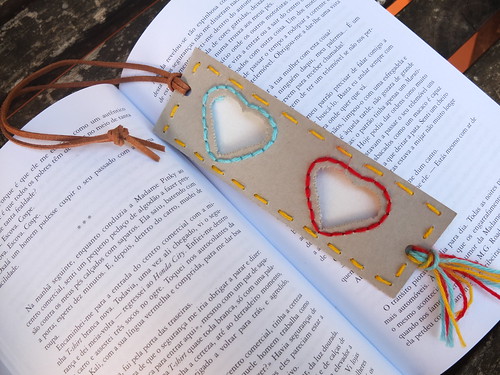
After stitching, join the two parts by folding them in half - punch holes at the top and bottom with a hole punch. At the bottom, use yarn to join the two parts and at the top, the suede cord.
 |
| Use yarn to gather the two parts of the card. |
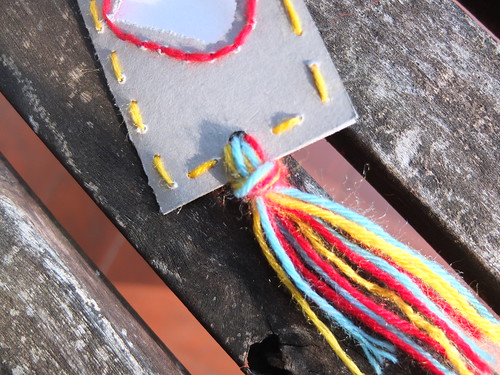 |
| Easy and beautiful finishing.. |
And the bookmark is done! I said it was easy... Any child over 5 years old will be able to do it (don't forget to be careful with the pins - there are safer ways of doing this...)
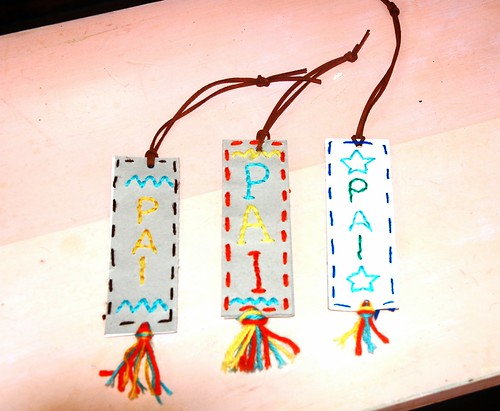 |
| Three bookmarks, three happy dads! |
 |
| More happy dads :) |
 |
| More ideas... |
I hope you enjoy it! Good stitches!


This looks like a great idea! I might try this with my younger brother. HE WILL SEW! :P
ReplyDeleteOh, how cool is that! Thank you !
ReplyDeleteGreat idea and super cute! I will remember this next time I teach a kid to embroider.
ReplyDelete