

Hi guys! Are you ready for our first stitchalong ever? Now for those of you who don't know what to expect, don't worry! The truth is, I've never done a stitchalong, either, so I'm just making this up as I go along. :)
The basic idea is: we'll all create something based on that lovely vintage pattern above (generously scanned and added by Claudia) - get the pattern here. You can work the whole design, part of the design, or modify it in any way you wish! You'll have the entire month of February to stitch this in whatever way you like and add it to the Embroidery pool.
As we go along, I'll be here to answer questions, show you my progress bit by bit, and feature your awesome work as you add it to the pool. That sound fun? I hope so! :)
So, here we go, week 1 of our stitchalong!
Step 1: Transfer the pattern to your fabric.
Here's a very quick and easy way, if you have a computer screen:
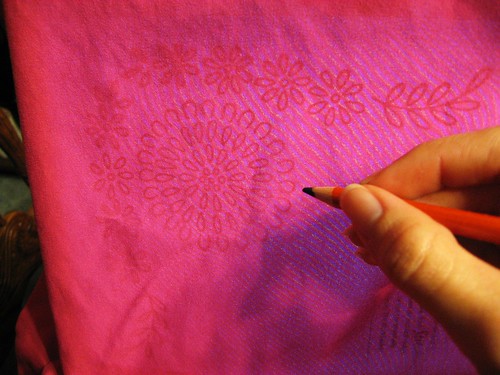
I slipped my fabric over my laptop screen and traced the pattern with a pencil.
Edit: Be sure to be very careful and press very lightly when tracing. If you think your screen might in any way be damaged by light pressure, don't do it! A printout is much cheaper than a new computer screen. :)
You can also use a transfer pencil (or transfer pen) - see my tutorial
Or, print the pattern, tape it to a bright window, hold your fabric up to trace over it.
Or, use transfer paper (or carbon paper).
Just a few ideas - be sure to share if you have any better ones!
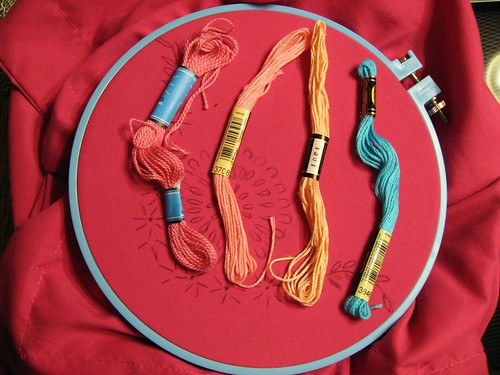
Step 2: Choose your colors
This step actually takes up A LOT of time for me. I also find myself plucking out stitches and re-stitching, so don't feel bummed if you end up doing the same.
I started off with 4 bright colors to complement the really bright fuschia fabric I'd be working on:
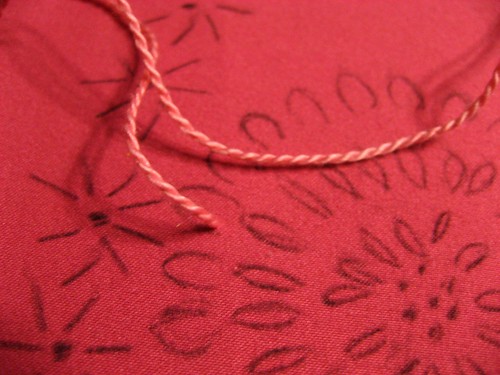
Step 3: Open Lazy Daisy stitches
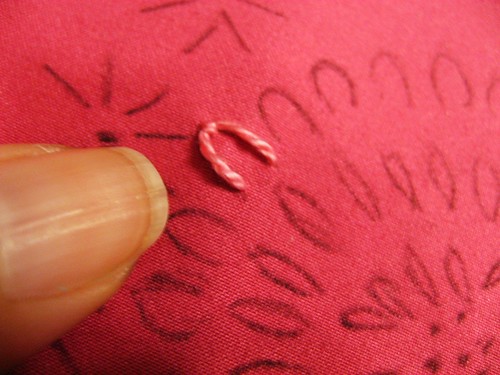
I started off with the open-looking Lazy Daisy stitches along the outside of the large flower (they look sort of like little horseshoes:
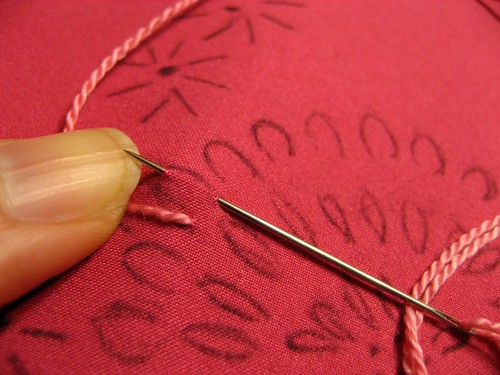
Need step-by-step directions for Lazy Daisy stitches? Here you go!
Stitch School: Lazy Daisy or detached chain stitch
Needle n' Thread: Lazy Daisy stitch (video)
Here's the finished outer row of open Lazy Daisy stitches:
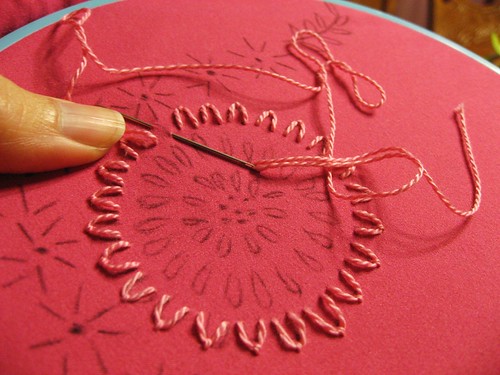
Step 4: More Lazy Daisy stitches
Next, I did the inner row of Lazy Daisy's which are your regular, closed variety:
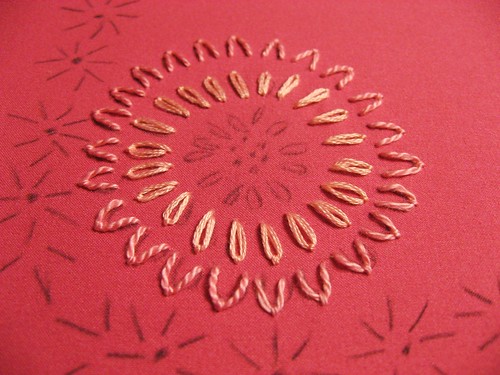
Last, I did the inside row:
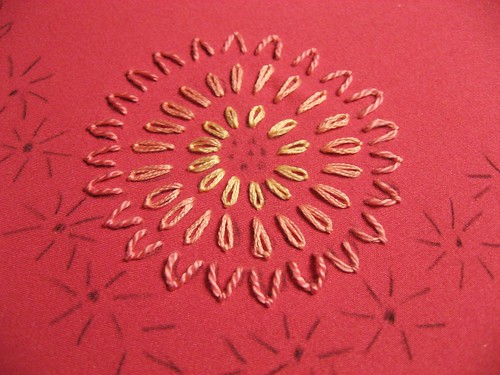
Whew! That was a lot of pictures and stitching!
How is your stitching going?
If you join us, be sure to add your pictures to the Embroidery pool and tag them: FebStitchalong so I can find them! Remember you can stitch this in any way you like - I'd love to see any creative ways you use this pattern! Let's see some stitching! :)


